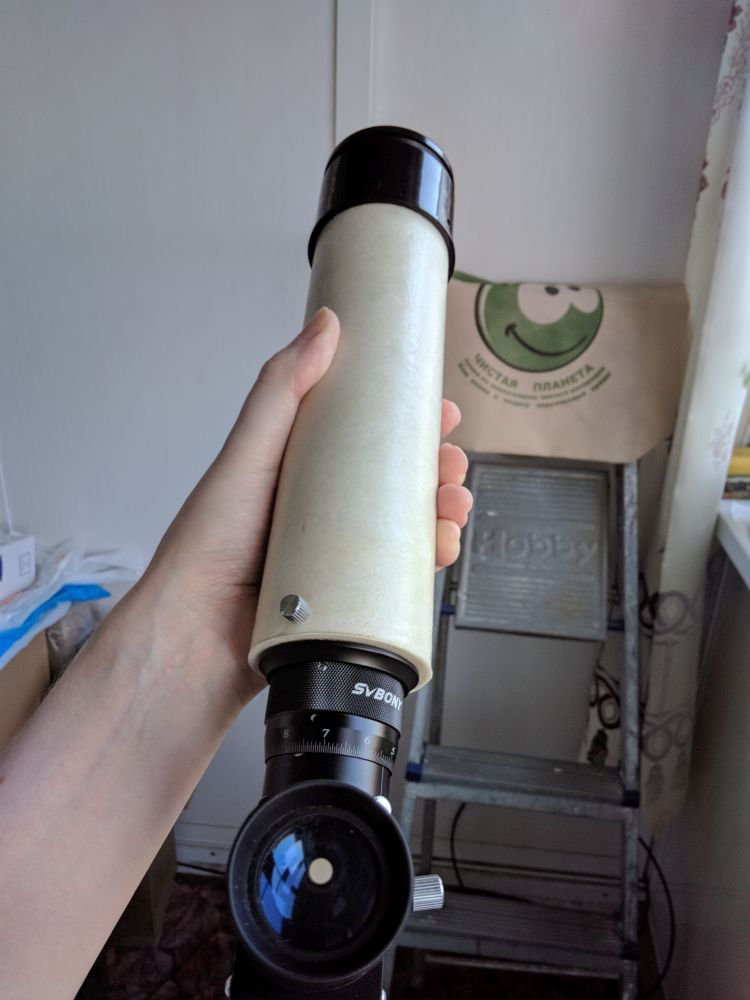
Made a mini telescope/finder out of leftover Chinese parts. Maybe something will be useful to you too.
(Autotranslated with www.DeepL.com/Translator)
Lens
The achromat 60/360 cost about $5. The outer diameter of the lens is 62 mm, the light diameter is 60 mm. The lens holder has an outer diameter of 67 mm, so it will not good for bino. The coating, as stated blue single-layer. But as it turned out the inner surfaces are not coated, only the two outer surfaces.
But the point was round, without astigmatism, and the spherical aberration was overcorrected, which left the possibility of removing it by increasing the thickness of the spacer (rings were cut with a circular cutter).
200 microns: complete ring - spherical aberration greatly overcorrected, the intrafocal is cloudy, the ring is almost invisible.
450 ring of thick cardboard - recorrected, blurred rings in intrafocal.
1050 two rings of cardboard - badly undercorrected, here already extrafocal completely cloudy.
770 ring of plastic from a folder - moderately undercorrected, extrafocal cloudier.
650 sandpapered plastic ring - out-of-focus is the same.
The Newton's ring check at this thickness no longer works, so the thickness of the spacer was checked with a micrometer.
It also turned out that with the increased thickness of the spacer the lens became more sensitive to coma due to lens shift - I had to add a round rubber band ~1.5 mm over the lens to keep them in the center (plus an already unnecessary cardboard ring to keep the lens from twisting when screwing the frame) After several attempts the lenses fit correctly.
Focuser
Helicoid. Considered for use in the Newton, but there were issues with backlash, and because of the small stroke you can not get into focus, so it went here. The stroke is 11 mm. Claimed M36 threads, but in fact there's M31 plus an adapter ring to M36.
The backlash turned out to be quite large and was caused by the design - large gaps. Viscous grease masks this somewhat, but it is better to solve the issue more radically and put shims. You need to unscrew the big screw at the top of the helicoid, unscrew this part and glue three gaskets inside it. The thickness is adjusted, for me the usual 20 micron scotch plus 3*50 micron built kapton scotch was fine. As it is, it's pretty good. The stroke is enough for all eyepieces, but not enough to use a 45 degree prism.
The easiest way to connect the focuser to the pipe was to buy the same M31 adapter to 2 inches.
Tube
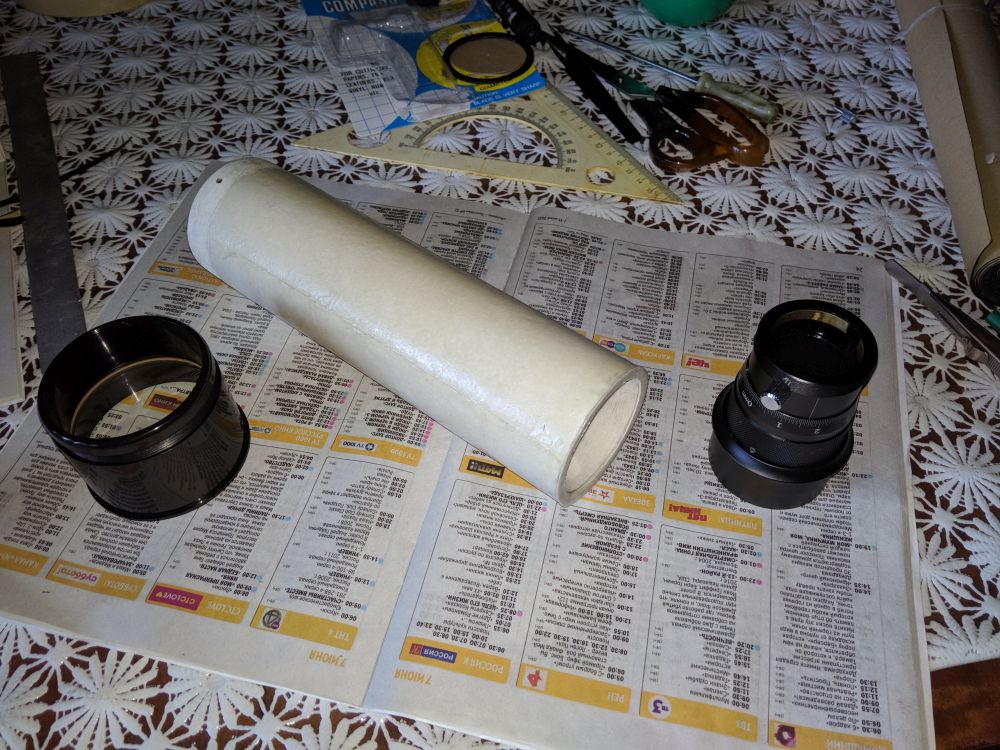
A classic made of absorbent cotton and epoxy. The length of the tube is 217 mm. Five turns of batman, gives a sufficient thickness of 1 mm. A package of 140 grams of resin is enough. The only thing you have to do when pasting is to wrap polyethylene on top of the resin tube and make it thick enough, for example from a stuffed garbage bag. Thin gives a lot of creases, which remain on the surface.
The transition ring for two inches is made in the same way - but from four five-screw rings previously tacked in the beginning with glue (and with a gap of ten (sheet of regular paper), this is necessary because of the slight swelling of the paper with the resin).
After the resin hardens, holes are drilled and M3 threads are cut for the lens screws and a retaining screw for the focuser adapter (an extra screw from the focuser was used).
For the sake of experiment I glued a black velvet self-adhesive inside - it was not difficult, it is quite dense. The result is quite good, it stays black even when the rays fall flat (see photo with flash). However, I found glare in the focuser, despite the blacking and threading, so it's too early to give up the diaphragms.
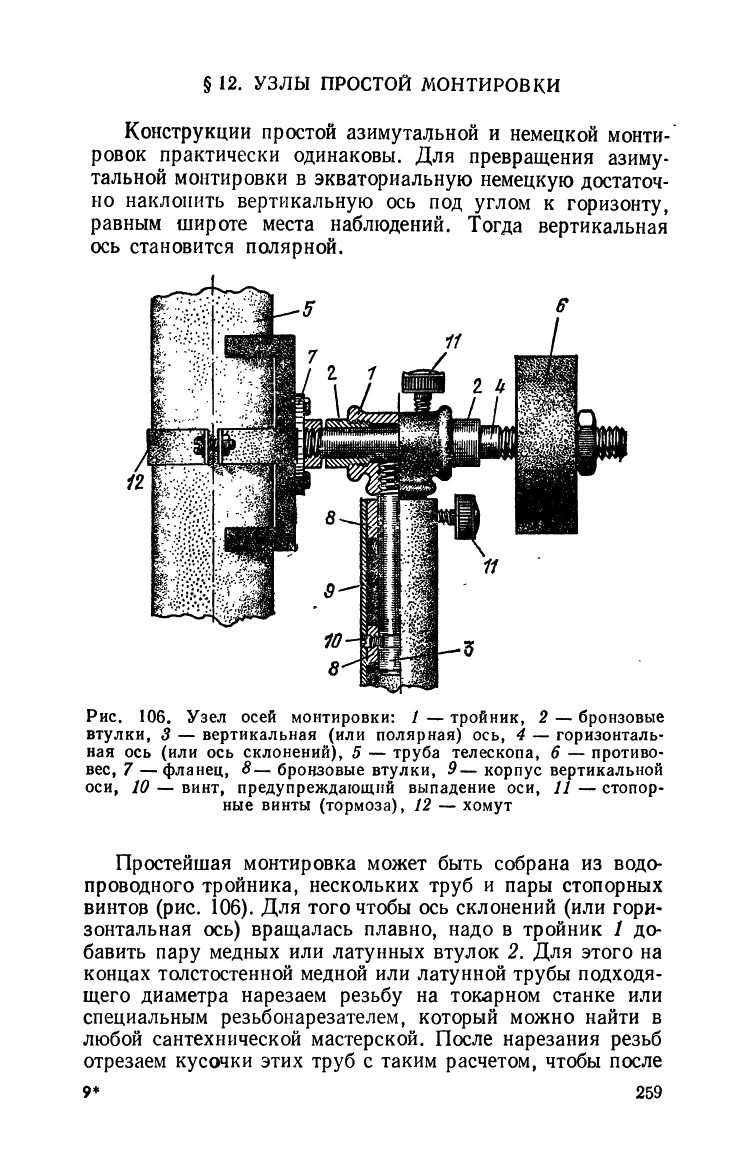
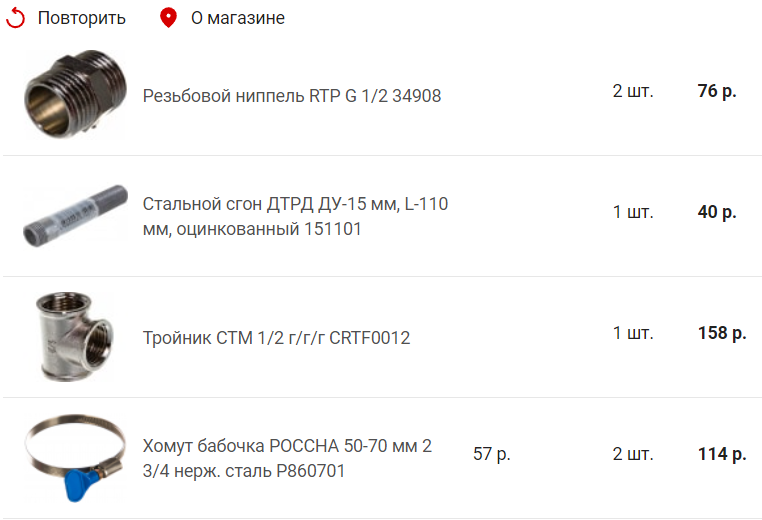
Mount
A somewhat simplified classic from santech. It is assembled from: a suitable clamp (for fixing to the window sill), to which a steel rod is screwed as a vertical axis. A 1/2F tee is threaded on it (backlashes are chosen by its own weight). A couple of bushings are screwed into the tee, and 0.6mm brass strips are tightly seated in them as a bearing. The horizontal axle is an M14 bolt. Two nuts on the bolt clamp a piece of profile, to which the telescope rings are screwed (bow clamp 50-70mm, inside glued with rubber self-adhesive). The locking screw for the horizontal axis is M4 with a suitable nut pressed in a vise.
Diagonal
Chinese dielectric mirror, bought for $21. Outperforms the regular aluminum mirror by about ten percent in transmittance.
Disadvantages - the sides on the inside are not blacked out, but painted red. The hole for the clamping screw turned out to be inconveniently located at the top. The first was solved with a can of black matte paint, the second with a pad of plastic under the top barrel to keep the screw to the left.
Yes, the thread in the body for the eyepiece barrel is M36, the same as the helicoid focuser, but has a different pitch so it screws in less than a turn.
In the Jupiter test, the dielectric won pretty convincingly over the old and somewhat dusty aluminum (as a result, mostly used on the larger telescope). The picture looked more saturated.
A couple of photos through the eyepiece:

